Adding New Files
You can add new files to your project only when the File Explorer form is open and when your user account has sufficient Permissions (read/write or modify). There are a number of manual ways the functionality can be accessed as presented below:
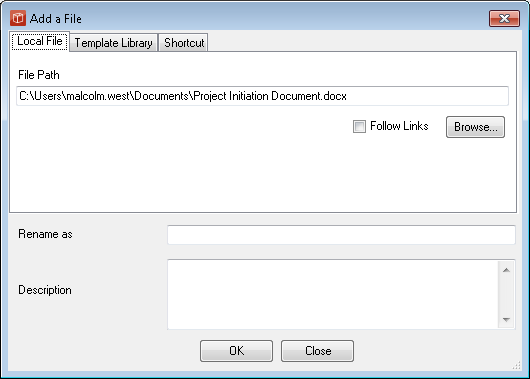
Alternatively files can be added by Drag and Drop. Using this approach users must first select the document they want to add the new file to using the process diagrams and file explorer. Then simply drag the file from its current location and drop it on the document part of the file explorer document pane (when this is permitted the icon style should change). You will then be presented with the Add file form to allow you to rename the file and provide a comment if you wish. This approach supports the addition of shortcuts and also dragging multiple files, in this case you are presented with the Add file forms in succession. Drag and drop add now also works with emails direct from Outlook. The file Explorer will then be refreshed and you will be able to see your file in the system, this file will be displayed every time it's host document is called within a sub-process, index etc. A copy of the file you have selected has been taken to the server and this will now become the source file for view and check out copies as the audit trail develops. Users may want to consider deleting the original file added from it's local or network location to ensure there is no duplication confusion from other users about where they should go to obtain the file. A second tab on this form allows you to add a file from a template library of standard file types for this method template. Note: You can add any type of file you want to PROJECT in a box using this approach, although our standard template files are provided as Microsoft documents you are free to add Star Open Office or any other files you require. If you want to manage a combination of files in the same configuration, such as a website or a set of drawings, you can zip these and add the zip as a single file. |
